
How to Fix a Broken Tumbi String: A Complete Guide to Restringing Your Tumbi
A broken string can bring your tumbi to a sudden stop, but the good news is that replacing a broken tumbi string is usually a simple repair that you can do at home. Whether you call it a tumbi, toombi, iktara, or ektara, this traditional Punjabi folk musical instrument has a remarkably simple design: one string, a resonating body, a neck, a bridge, and a tuning mechanism.
Because a tumbi is a single-string instrument, that one string plays an especially important role. When it breaks, there is no second or third string to keep the instrument playable. Fortunately, once you have a suitable replacement string and understand how the string is fitted, you can usually get your instrument working again without professional repair.
The handcrafted Muteyaar Tumbi, for example, is described as a traditional single-string tumbi made from quality wood, with a sturdy bridge and a smooth painted finish. It is designed to produce the crisp, sharp, high-pitched and resonant sound associated with the tumbi in Punjabi folk music, Bhangra, and devotional music. The instrument is also supplied with a replacement string.
This guide explains how to fix a broken tumbi string, how to choose the correct replacement, how to attach the new string, how to tune it safely, and what to check if the string keeps breaking.
What Is a Tumbi?

Before repairing the string, it helps to understand the instrument you are working with.
The tumbi, also known as a toombi or iktara, is a traditional Punjabi folk musical instrument recognized for its distinctive high-pitched sound. Its single-string construction makes it very different from a conventional guitar or other multi-string instruments.
Modern handcrafted versions, such as the Muteyaar Tumbi, use a wooden body and neck with a sturdy bridge. Muteyaar describes its instrument as lightweight and comfortable to hold while producing clear, rhythmic and resonant tones suitable for Punjabi folk music, Bhangra performances and devotional songs.
The simplicity of the tumbi is one of its greatest strengths. There are fewer components to maintain, and replacing the string does not normally require complicated tools.
However, because there is only one string, you need to install the replacement correctly. The position of the string over the bridge, the way it is secured, and the amount of tension applied can all affect the sound and playability of the instrument.
Why Does a Tumbi String Break?
Tumbi strings can break for several reasons. Sometimes the cause is simply normal wear. A metal string experiences constant tension every time the instrument is tuned and played.
Other common causes include:
- Excessive string tension
- Frequent retuning
- A worn or sharp bridge
- A rough point where the string is attached
- Incorrect installation
- An unsuitable replacement string
- Rust or corrosion
- Physical damage to the string
- Age and repeated playing
If your string has broken once, replacing it may be all that is necessary.
If a new string breaks repeatedly in exactly the same location, however, do not keep replacing strings without investigating the cause. There may be a sharp edge or damaged component cutting into the string.
What Type of Replacement String Do You Need?
Choosing the right Tumbi string is one of the most important parts of the repair.
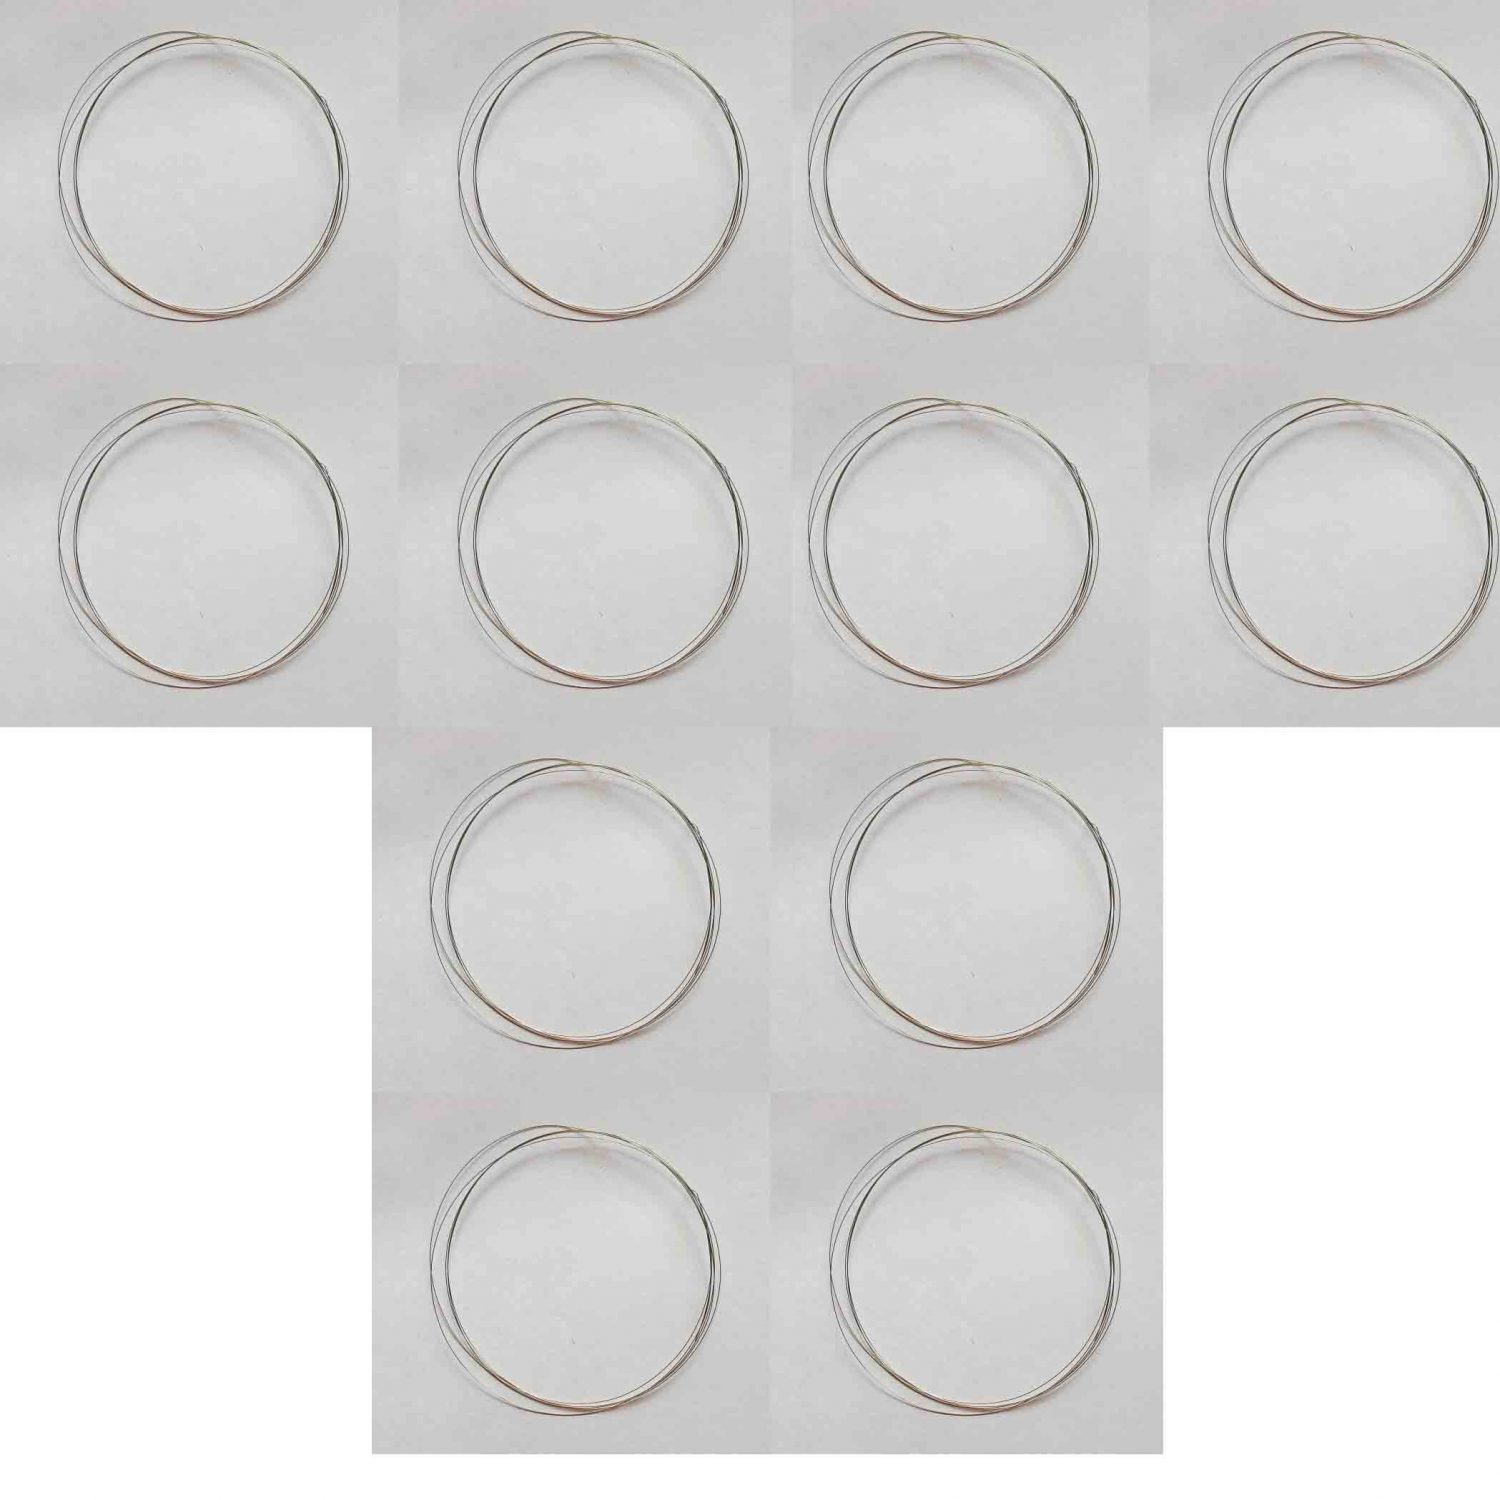
Because the tumbi is a single-string Punjabi folk instrument, it is best to use a string designed or recommended for a tumbi rather than simply choosing any piece of wire.
Muteyaar sells dedicated Tumbi strings and describes them as stainless-steel strings suitable for use on a tumbi. Its product listing also notes that the string produces its intended musical sound when fitted tightly on the instrument.
If your tumbi came with a spare replacement string, that is an excellent option. Keep the original broken string until you have completed the repair so you can compare its thickness and construction with the replacement.
Should you use a guitar string?
You may find advice online suggesting that a thin plain steel guitar string can be used on a tumbi. While this may work for some instruments, a dedicated tumbi replacement string is the better starting point because it is intended specifically for this type of instrument.
The exact string specification can vary between tumbi designs, so avoid assuming that one particular guitar-string gauge will work for every tumbi.
For a Muteyaar-style tumbi, using a proper tumbi string keeps the repair closer to the instrument’s intended setup.
Tools You Need to Replace a Tumbi String
You do not need a professional instrument-repair kit.
For a basic tumbi string replacement, gather:
- One suitable replacement Tumbi string
- Small pliers
- Wire cutters
- A chromatic tuner
- A soft cloth
- Your tumbi
The pliers help you bend and secure the string. Wire cutters are useful for removing the excess string after installation.
A tuner is particularly helpful because it allows you to increase the string tension gradually instead of guessing the pitch.
Before starting, place the tumbi on a stable surface or hold it securely. Avoid putting unnecessary pressure on the wooden body or bridge.
Step 1: Examine the Broken String
Start by looking carefully at the broken string and the area where it failed.
If the string broke somewhere in the middle, it may simply have reached the end of its useful life.
If it broke close to the bridge, inspect the bridge carefully. Look for:
- Sharp edges
- Deep grooves
- Cracks
- Rough surfaces
- Anything that could rub against the string
If it broke near the tuning end, examine the tuning mechanism and the point where the string passes through or around it.
This inspection is important because a damaged contact point can cause a brand-new string to break in exactly the same place.
Step 2: Remove the Remaining Broken String
If part of the old string is still attached, first reduce the tension.
Turn the tuning mechanism slowly so that the string becomes loose. Do not pull or cut a tightly stretched string while it is under significant tension.
Once the string is loose, remove the remaining portion from the tuning end.
Then remove the other end from its attachment point.
Take a moment to observe how the original string was fitted. This is particularly useful if you have never restrung a tumbi before.
Take a photograph before completely removing the old string if necessary. The photograph can serve as a reference for the position of the string and the way it was secured.
Step 3: Prepare the New Tumbi String
Take your new string out of its packaging and straighten it gently.
Do not create sharp bends or kinks in the wire.
A kinked section can become a weak point, especially once the string is brought up to playing tension.
If your replacement string is significantly longer than necessary, that is perfectly normal. It is better to have extra length during installation because you can trim it later.
Do not cut the string to its final length before attaching it.
Step 4: Secure the String at the Bottom
The exact attachment method depends on the construction of your tumbi.
On a traditional single-string tumbi, the string is secured at one end of the instrument and then runs along the body toward the bridge and tuning mechanism.
Take the end of the new string and place it into the same attachment area used by the original string.
Create a secure loop or wrap according to the original arrangement.
Use the pliers to make the connection firm, but do not crush or excessively bend the string.
The objective is to prevent the string from slipping when tension is applied.
Before moving on, give the string a gentle pull. It should remain securely attached.
Step 5: Position the String Over the Bridge
This is one of the most important steps.
The tumbi’s bridge supports the string and transfers its vibration to the instrument’s resonating body. Muteyaar’s Tumbi is specifically described as having a sturdy bridge as part of its traditional single-string design.
Run the string from its lower attachment point toward the bridge.
Make sure it sits in the intended position.
If there is a groove or channel for the string, place the string into it.
The string should travel in a straight line rather than sitting at an angle.
Check the instrument from above and from the side.
If the string is not properly positioned over the bridge, the tumbi may produce unwanted buzzing or an uneven tone.
Do not force the bridge into a new position simply to accommodate the string. The replacement should follow the original string path.
Step 6: Attach the String to the Tuning Mechanism
Now take the free end of the string toward the tuning mechanism.
Depending on your tumbi’s construction, you may need to pass the string through a hole or around the tuning point.
Leave several centimetres of extra string available while you work.
Secure the end and begin winding the string around the tuning mechanism.
Keep the wraps reasonably neat. Avoid allowing the string to cross over itself in a tangled manner.
At this stage, the string should still be relatively loose.
Do not immediately tighten it to playing tension.
Step 7: Remove the Slack Slowly
Once both ends are secure, begin turning the tuning mechanism slowly.
Your goal at first is simply to remove the loose slack.
Watch the bridge as you tighten.
Make sure it remains properly positioned and that the string stays in its intended groove or contact point.
Stop once the string is reasonably straight.
Now inspect the complete setup again.
The string should run:
Attachment point → bridge → tuning mechanism
in one clean, straight line.
If it looks correct, you can begin tuning.
Step 8: Tune Your Tumbi Gradually
This is the step where you should exercise the most caution.
A thin steel string can break if you apply excessive tension. Do not rapidly turn the tuning mechanism until the string reaches a high pitch.
Instead, make small adjustments.
Pluck the open string gently.
Check the pitch with your tuner.
Then make another small adjustment.
Repeat this process until you reach the desired tuning for your instrument.
There is not one universal tuning pitch that every tumbi must use. The appropriate pitch can depend on the instrument, the musician, the song and the performance context.
The goal is not simply to make the string as tight as possible.
The string should be tight enough to produce the intended crisp, high-pitched and resonant tumbi sound without being placed under unnecessary tension. Muteyaar describes the tumbi’s characteristic tone as crisp, sharp, high-pitched and highly resonant.
Never force the tuning mechanism
If the string feels extremely tight, stop.
Do not continue turning the tuning mechanism simply because the tuner has not reached your target pitch.
An unsuitable string or incorrect tuning target can create excessive tension.
If you are unsure about the correct pitch, ask an experienced tumbi player or teacher who can identify the appropriate tuning for your particular instrument.
Step 9: Let the New String Settle
Newly installed strings can move slightly after installation.
Once the string reaches your normal playing pitch, pluck it several times and check the tuner again.
If the pitch has dropped, make a small adjustment.
Repeat this process until the string becomes reasonably stable.
Do not aggressively stretch the string. Gentle settling is enough.
The important thing is to give the string time to adjust to its new position around the attachment points and tuning mechanism.
Step 10: Trim the Excess String
Once the string is securely installed and holding its pitch, you can remove the excess.
Use wire cutters to trim the unused section.
Do not cut directly against the attachment point if doing so could weaken the connection.
Leave a small amount of extra wire and fold or secure the sharp end so it does not catch your fingers or clothing.
Be especially careful when handling freshly cut steel string because the end can be surprisingly sharp.
How to Know if You Installed the Tumbi String Correctly
After restringing, check the instrument before playing it extensively.
The replacement string should:
- Sit securely at both ends
- Run straight across the instrument
- Sit correctly on the bridge
- Remain centered
- Hold tuning reasonably well
- Produce a clear sound when plucked
- Have no obvious kinks
- Show no signs of rubbing against sharp edges
Pluck the string gently.
Listen for buzzing, rattling or unusual sounds.
A correctly installed string should produce a clear note rather than a loose metallic rattle.
Why Proper Tumbi Strings Matter
The string is not simply a piece of metal that produces a note.
It is part of the overall sound and response of the instrument.
Muteyaar’s dedicated Tumbi strings are described as stainless-steel strings specifically suitable for tumbi use. The product listing also describes the string as producing the best musical sound when fitted tightly on the tumbi.
Using an appropriate string can therefore help maintain the characteristics expected from a traditional Punjabi folk instrument.
If you already own a Muteyaar Tumbi, keeping a spare set of replacement strings is a practical idea. The company’s Tumbi product is supplied with one replacement string, while its separate listing offers a pack of 12 Tumbi strings.
Having spares available means that a broken string does not have to interrupt a rehearsal, performance or Bhangra practice session for long.
How to Maintain Your Tumbi String
Good maintenance can help extend the life of a string.
After playing, wipe the string and instrument gently with a clean, dry cloth.
Avoid exposing the tumbi unnecessarily to moisture.
Store it somewhere safe where it will not be knocked over or placed under pressure.
Inspect the string occasionally for visible rust, corrosion, kinks or worn sections.
Pay particular attention to the bridge and tuning area.
If you notice that the string is developing a visibly damaged section, replacing it before it snaps during a performance can save you considerable trouble.
How Often Should You Replace a Tumbi String?
There is no fixed replacement schedule.
A player who uses a tumbi occasionally may keep the same string for a long time. Someone who plays regularly may need replacements more frequently.
Replace the string when:
- It breaks
- It shows significant corrosion
- It develops a kink
- It repeatedly loses stability
- It sounds noticeably different from normal
- It has visible wear around the bridge or tuning point
You do not necessarily need to replace a perfectly good string simply because it has been installed for a certain number of months.
Condition is more important than age alone.
Can Beginners Replace a Tumbi String?
Yes.
The simple construction of the single-string tumbi makes it relatively accessible for beginners.
You do not need to be an experienced instrument technician to replace a broken string. The most important things are patience, careful observation and gradual tuning.
If you have never done it before, take a photograph of the old string arrangement before removing it.
Work slowly.
Do not rush the tuning process.
And if anything looks damaged—particularly the bridge, wood or tuning mechanism—stop rather than forcing the repair.
When Should You Get Professional Help?
Replacing a string is generally a straightforward maintenance task, but structural repairs are different.
You should consider getting help from an experienced instrument maker or repairer if:
- The wooden body is cracked
- The neck is damaged
- The bridge is broken
- The tuning mechanism is loose or damaged
- The string repeatedly breaks at exactly the same location
- The instrument will not hold tension
- The string cannot be positioned correctly
- You are unsure which replacement string to use
A valuable handcrafted or older tumbi deserves particular care. Trying to repair a structural problem by yourself could cause more damage.
Frequently Asked Questions About Tumbi Strings
What is a tumbi string made of?
Dedicated tumbi strings can be made from stainless steel. Muteyaar’s Tumbi-string listing specifically describes its replacement strings as stainless-steel strings suitable for tumbi use.
Can I use any wire as a tumbi string?
It is not recommended. The string needs to withstand tension and produce the correct sound. A dedicated tumbi string is a safer choice than an unknown type of wire.
How many strings does a tumbi have?
A traditional tumbi is a single-string instrument. This one-string design contributes to its distinctive high-pitched sound. Muteyaar likewise describes its model as a traditional single-string tumbi.
Is a tumbi the same as an iktara?
The names can overlap in everyday usage, although regional instruments and designs can differ. Muteyaar itself lists its instrument as “Tumbi / Toombi / Iktara” and also uses the spelling “Ektara” in its description.
Why does my new tumbi string sound different?
A new string may need time to settle, and its sound can also differ depending on its material, thickness, tension and installation. Make sure it is properly seated over the bridge and correctly tuned.
How tight should a tumbi string be?
It should be tight enough to produce the intended playing pitch and clear tone, but it should never be tightened simply as much as possible. Tune gradually and stop if the tension becomes excessive.
Final Checklist for Fixing a Broken Tumbi String
Before you finish the repair, check these points:
- You have selected a suitable Tumbi replacement string.
- The old string has been removed without damaging the instrument.
- The new string is securely attached.
- The string follows the original path.
- The string sits correctly over the bridge.
- The tuning end is secure.
- The string has been tightened gradually.
- The tumbi is tuned to an appropriate playing pitch.
- The string holds its tuning reasonably well.
- There is no buzzing or unusual rattling.
- There are no sharp edges cutting into the string.
- Excess string has been trimmed safely.
If all of these checks are satisfactory, your tumbi should be ready to play.
Conclusion
Learning how to fix a broken tumbi string is a useful skill for anyone who owns this distinctive Punjabi folk musical instrument. Because the tumbi has a simple single-string construction, replacing the string can usually be accomplished with a few basic tools and a little patience.
The most important part of the process is choosing the right replacement string. A dedicated Tumbi string, such as a suitable stainless-steel replacement, is preferable to using an unknown piece of wire. Muteyaar specifically offers replacement Tumbi strings and describes them as suitable for producing the intended musical sound when properly fitted.
Once you have the correct string, remove the broken one carefully, follow the original string path, position the new string correctly over the sturdy bridge, secure both ends, and bring the string up to pitch slowly.
Remember that the goal is not to make the string as tight as possible. The goal is to achieve the correct playing tension and maintain the clear, crisp, high-pitched and resonant character associated with the tumbi sound.
With proper care, your handcrafted tumbi can continue producing the distinctive rhythms of Punjabi folk music, Bhangra and devotional music for years to come.
And once you have successfully replaced your first broken string, keeping a few spare Tumbi strings nearby is one of the easiest ways to make sure a broken string never keeps you from playing for long.